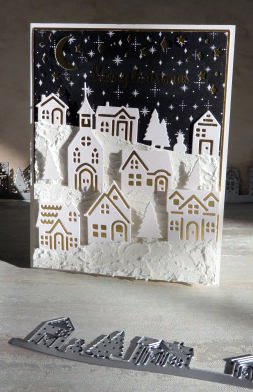
Keller's Creation Chipboard Outlines
I purchased a bunch of chipboard outlines from Keller’s Creation because I like chipboard and it was a good sale but I wasn’t sure what I would use them for at the time of purchase. I owned them for about 15 mins before the design for this page came into my head by looking at my pictures and wanting to use the Boy Scout Paper I purchased in a packet ahead of time. Keller’s suggests painting the chipboard which is a good idea and looks nice but when you forget to bring your paint to an event you need to improvise.
All chipboard but the star stamped with Clear Gloss Ink and coated with White Embossing Powder and heated with heat gun until melted. Repeated this step again and then stamped with Clear Gloss Ink and coated with Chameleon Embossing Powder and heated with heat gun to obtain shimmer. Coated edges with White Galaxy Marker.
Glued Chipboard outline shapes onto photos and then trimmed photos around chipboard. Placed letter stickers on Fancy chipboard banner outlining it with Red Stickle.
Star Chipboard covered in glue and allowed to get sticky. Applied thin layer of blue glitter on chipboard and rubbed in.
All pieces aligned on Boy Scout Paper until found the layout that fit everything. Glued items down and added Gems and Border sticker to add some flare.
SUPPLIES:
Boy Scout Scrapbook Packet: Paper, Fancy Banner chipboard, Star chipboard, Star Scout Cut from Word Paper
Chipboard banners and shapes from Keller’s Creations
Stampin’ Up Embossing Powder = White and Chameleon
Ink A Dink A Do Clear Ink
Letter Blue Stickers from Stock
Long border sticker from stock
Red Stickle
Silver Gems from Stock
Blue Glitter Paper
Star Punch
Recollection Blue Glitter


Comments
Post a Comment